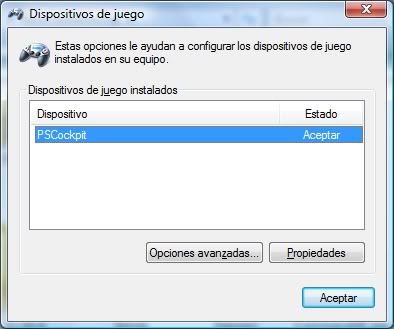

For digital inputs/outputs you can select two types of expanders: 16 I/O and 40 I/O. You can mix inputs and outputs in each expander as they are configurable but there are several restrictions to take in account:
a) The elements can’t share expanders: For example, if you are planning to use a 32 pushbutton inputs matrix you need a expander with (5) inputs unused, you can’t use (3) inputs of one expander and (2) inputs of other expander.
b) Maximum current per I/O: 25 mA for the 16I/O, 15 mA for the 40 I/O.
c) Maximum power dissipation per expander: It means you can’t use all the expander for outputs to handle 25 mA because it should exceed the power dissipation capacity of the expander. As it depends on the ambient temperature and the heat dissipation method, I will establish some limiting values by testing the expanders.
d) The daisy chain for the expanders connected to one channel should not exceed 1A current, but if you need more, you can disconnect the daisy chain power supply at one point and supply power in it.
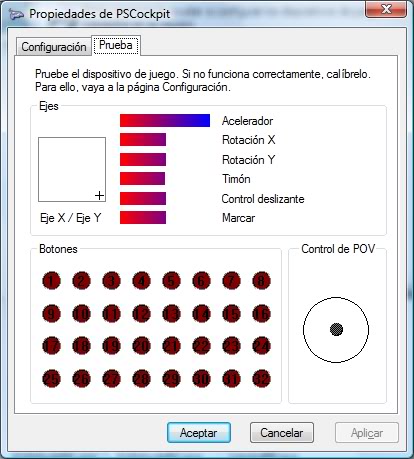
Example: AVTR panel
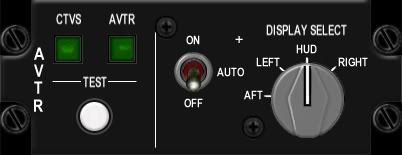
The panel consists of the following elements:
- (2) leds => 2 outputs
- (1) pushbutton => 1 input
- (1) 3pos switch => 2 inputs
- (1) rotary switch with 4 positions => 4 inputs
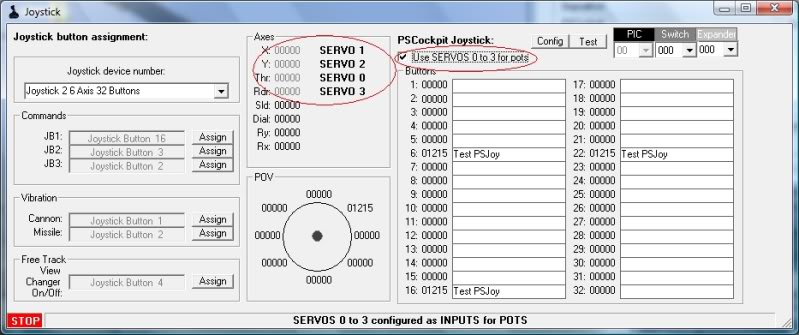
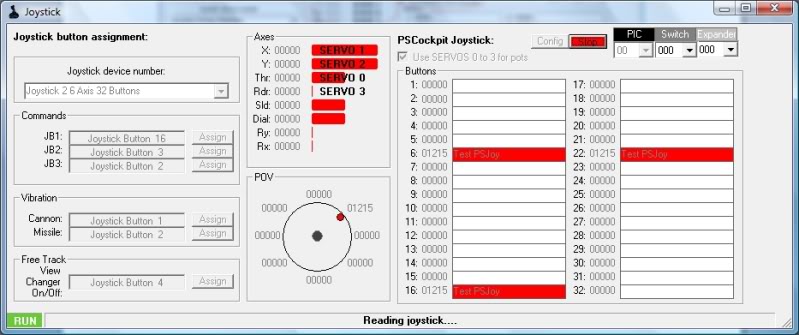
Total I/O count: 9 I/O. Expander selected: 16 I/O
That was easy. As I have 7 I/O free in this expander and I want to save some money, I will be using the expander to add another near panel in it. I found it!!:
EPU panel

The panel consists of the following elements:
- (3) leds => 3 outputs
- (1) 3pos switch => 2 inputs
Total I/O count: 5 I/O to add to the above expander.
This is how I calculated the list of expanders you can find attached in the following post:
http://www.viperpits.org/smf/index.php?topic=7237.msg98798#msg98798
Things get a little more complicated once you have calculated all the expanders and you have to group them in rows of 8 to connect them to one I2C channel. But I’m sure nothing you guys can't resolve .

Regards,
Shep