
For AUDIO1&2 pcb description, options and how to configure the expander address, see PSCockpit Quick Guide V.5 – AUDIO1&2 PCB. You can access the Quick Guide from Help/Quick Guide menu in the PSCockpit software.
The AUDIO1&2 pcb must be configured either the digital expander and analogue expanders.
AUDIO1&2 Digital Expander
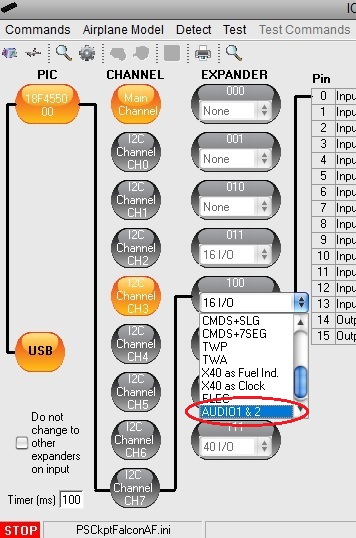
To configure the PSCockpit AUDIO1&2 panel select the correct option from the Expander pull down list in the IOLayout page of the PS Cockpit Software at the correct I2C channel:
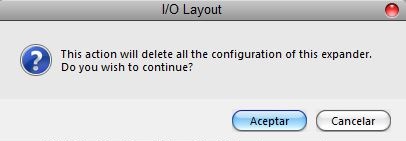
In case of there is some data already in the selected expander, the software will prompt you for continue:
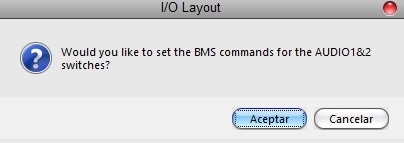
The software will also prompt you to add the standard BMS commands for the AUDIO1&2:
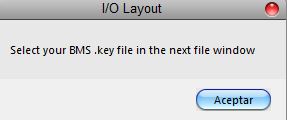
If you accept, the software will prompt you to search for your BMS .key file, typically in ..\Falcon BMS vX.X\User\Config folder, and will automatically search for the keystrokes you have set in your .key file for the AUDIO1&2:
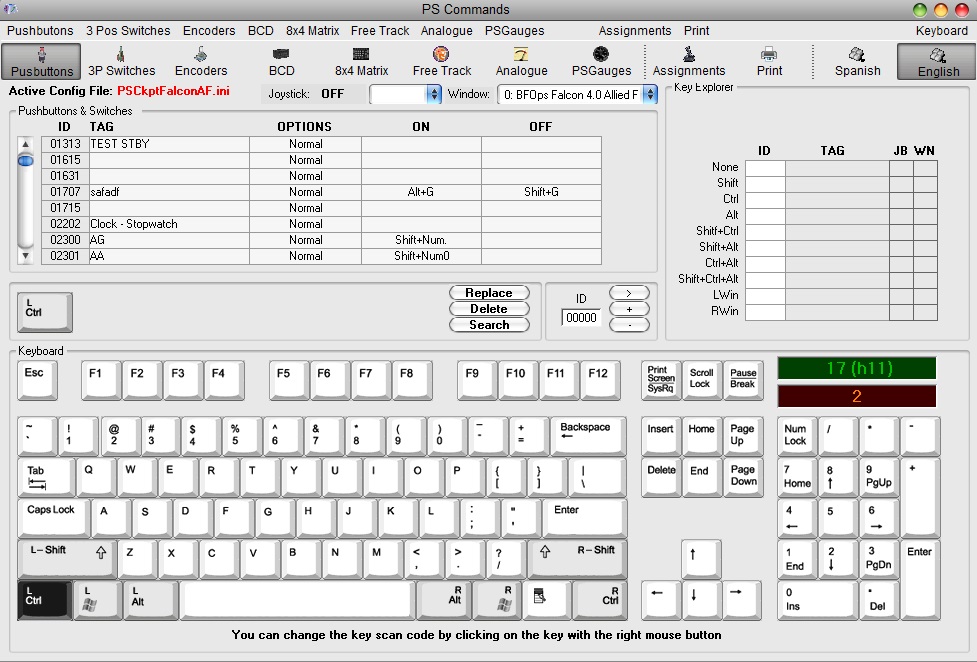
If any of the commands hasn't been set you will see a warning indicating how many commands haven't been set and the Commands page of the PSCockpit software will appear:

Be aware that once the configuration is saved, whenever you enter the IOLayout Page you won’t see “AUDIO1&2” label on the expander anymore but the “16 I/O” label.
AUDIO1&2 Analogue Expander
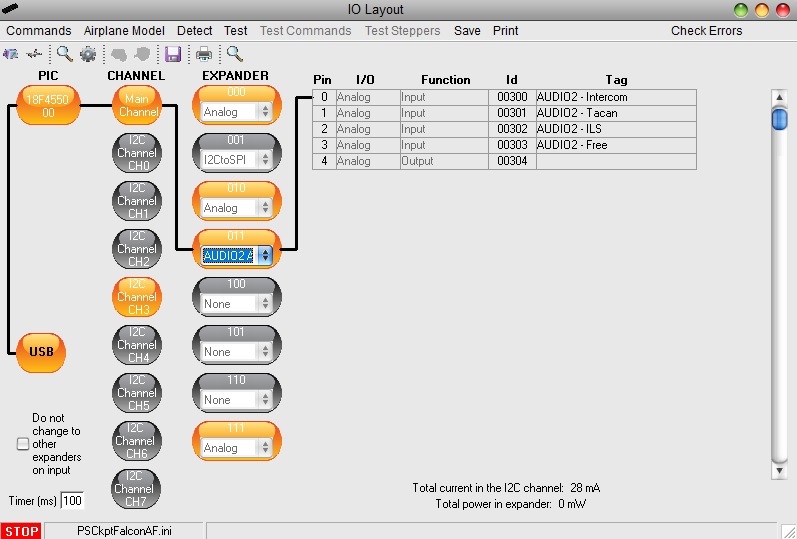
In the same way as the digital expander, to configure the PSCockpit AUDIO1&2 panel for analogue inputs, select the correct option from the Expander pull down list in the IOLayout page of the PS Cockpit Software at the correct I2C channel in the Main Channel:

You need to repeat the process for AUDIO1 analogue inputs and AUDIO2 analogue inputs in different analogue expander addresses.
In case of there is some data already in the selected expander, the software will prompt you for continue:
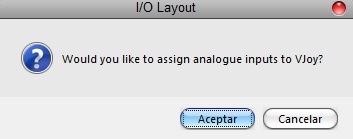
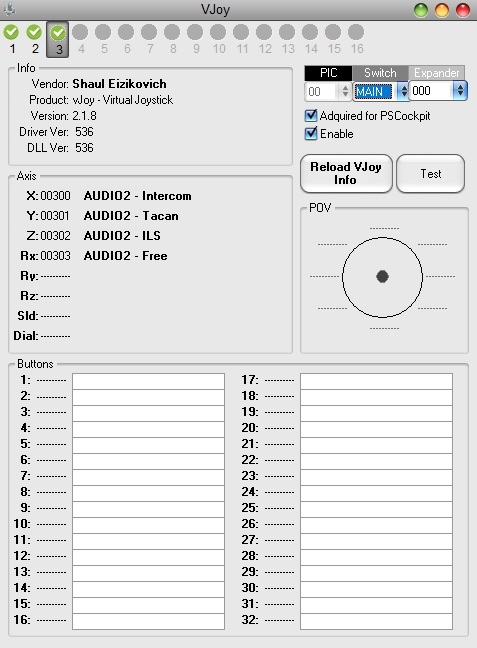
The software will prompt you to assign the analogue inputs to VJoy:
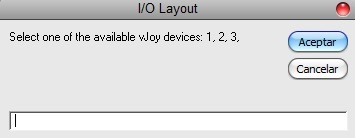
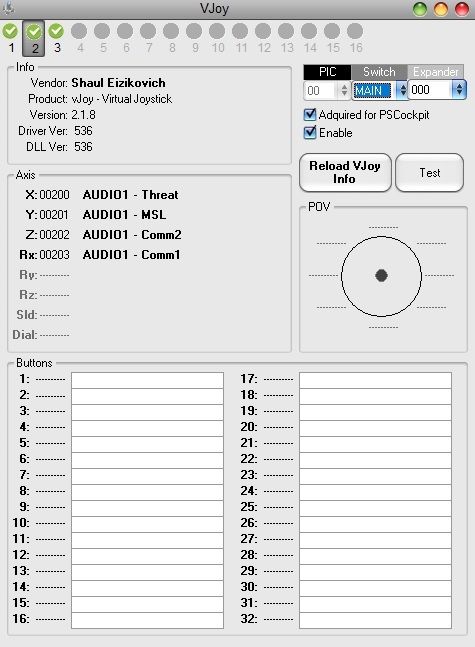
The VJoy page will appear. You can select the devices you have previously selected to see the configuration:
For more information about configuring vJoy devices, see:
Once the analogue inputs of the AUDIO1 panel is already configured you can modify the list of analogue inputs as desire:

Be aware that once the configuration is saved, whenever you enter the IOLayout Page you won’t see “AUDIO1 Analogue” label on the expander anymore but the “Analogue” label.
For AUDIO2 analogue inputs you need to repeat the process of the analogue input configuration and the vJoy page and IOLayout should appear like these:
https://psfalcon.blogspot.com/2020/01/how-to-use-and-configure-vjoy-in.html
Be aware that once the configuration is saved, whenever you enter the IOLayout Page you won’t see “AUDIO2 Analogue” label on the expander anymore but the “Analogue” label.
Regards,
Shep
No comments:
Post a Comment