For
X40 pcb description, options and how to configure the expander address,
see PSCockpit Quick Guide V.5 – X40 PCB. You can access the Quick Guide
from Help/Quick Guide menu in the PSCockpit software.
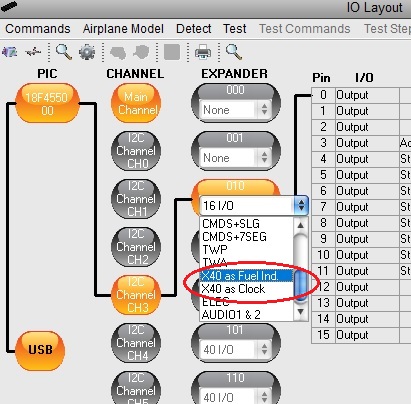
To configure the PSCockpit X40 pcb, select the correct option from the Expander pull down list in the IOLayout page of the PS Cockpit Software at the correct I2C channel, depending if you want to configure the board as Fuel Indicator or as Clock:
To configure the PSCockpit X40 pcb, select the correct option from the Expander pull down list in the IOLayout page of the PS Cockpit Software at the correct I2C channel, depending if you want to configure the board as Fuel Indicator or as Clock:
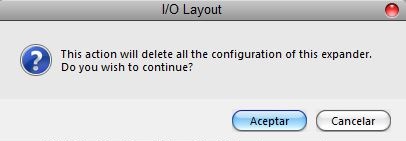
In case of there is some data already in the selected expander, the software will prompt you for continue:
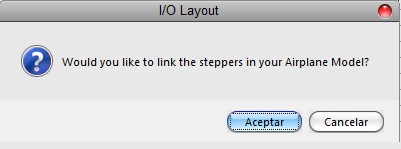
The software will prompt you to setup the X40 steppers in your Airplane model:
If you accept, the Airplane page will show up with the
steppers already assigned and you will be warned to set the zero, minimum and
maximum values of the steppers:
X40 PCB AS FUEL INDICATOR:
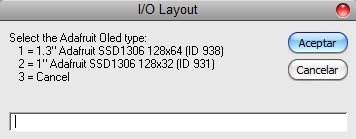
In case of Fuel Indicator, the software will prompt you to configure the Adafruit display:
If
you accept you will be prompted to select the type of Adafruit display:
The
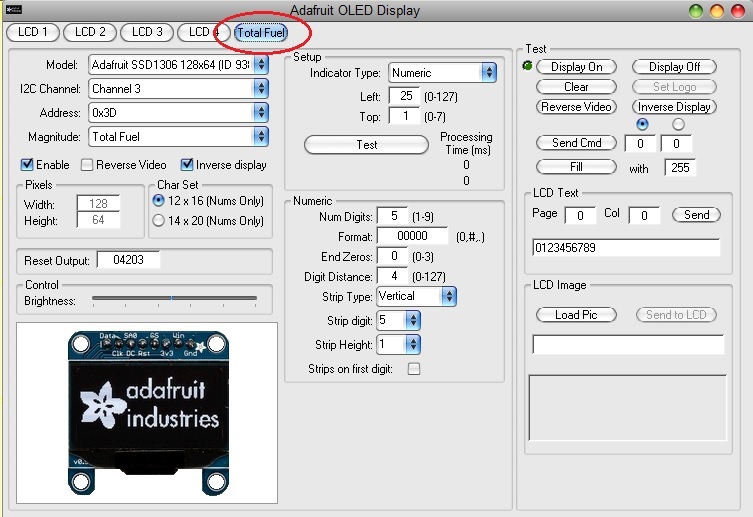
Adafruit Display Page will show up with the configuration. Click on “Total Fuel”
tab to review it:
The
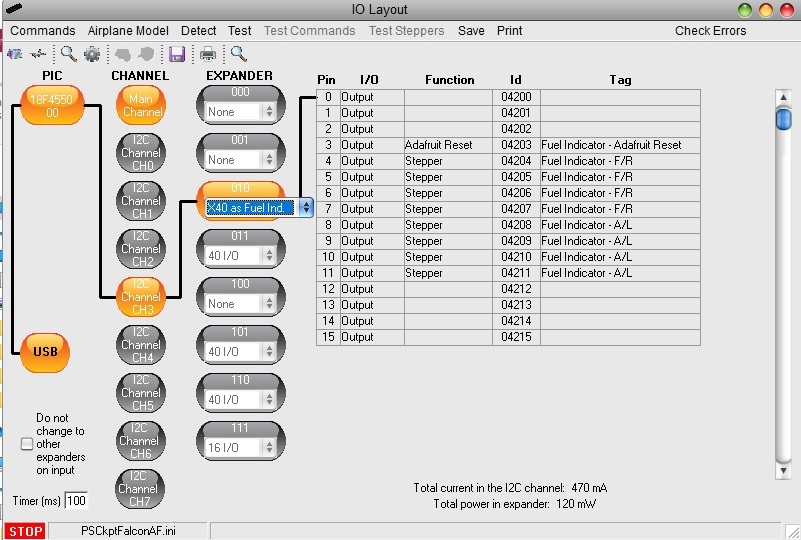
configuration of the X40 pcb for Total Fuel Indicator is now completed and the
IOLayout should appear like this:
You
can now modify the list of inputs/outputs as desire as well as the free I/O of
the expander.
Be aware that once the configuration is saved,
whenever you enter the IOLayout Page you won’t see “X40 as Fuel Ind” label on
the expander anymore but the “16 I/O” label.
X40
PCB AS FUEL INDICATOR:
The
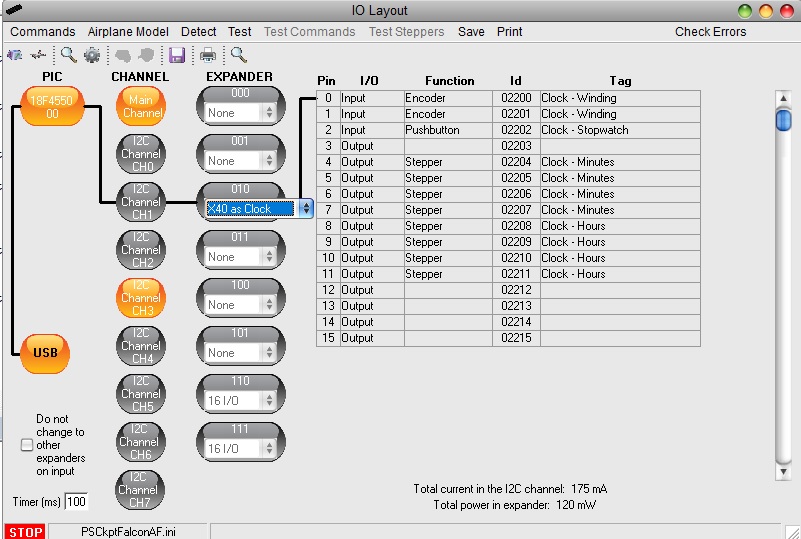
configuration of the X40 pcb for Clock is now completed and the IOLayout should
appear like this:
You
can now modify the list of inputs/outputs as desire as well as the free I/O of
the expander.
Be aware that once the configuration is saved,
whenever you enter the IOLayout Page you won’t see “X40 as Clock” label on
the expander anymore but the “16 I/O” label.
To
configure the stepper motors, see:
Regards,
Shep



No comments:
Post a Comment